Tensile strength testing measures the maximum force a nonwoven fabric can withstand before breaking. This guide outlines the equipment, preparation, and procedure needed to obtain accurate data for quality control and material selection.
- Use standardized specimen sizes and clamping methods to ensure repeatable results.
- Measure at multiple points and orientations to account for fabric anisotropy.
- Record the break force and elongation at break for a complete strength profile.
- Avoid overloading or damaging the specimen before the test begins.
- Verify equipment calibration before each testing session.
Why Tensile Strength Testing Matters for Nonwovens
Tensile strength testing reveals how much force a nonwoven fabric can handle before it tears or breaks. This data is a baseline for selecting the right material for specific applications, from medical wraps to automotive interiors. Engineers use it to compare suppliers, verify batch consistency, and design safety margins for end products.
Without accurate tensile data, you risk under-specifying a material that will fail in service or over-specifying one that adds unnecessary cost. The test itself is straightforward, but the results are only as good as the method behind them.
What You Need Before You Start
Before you clamp a single sample, gather the right tools and documents. The following items are prerequisites for a valid test.
| Item | Purpose |
|---|---|
| Tensile testing machine | Applies controlled force to the specimen |
| Cross-heads or grips | Hold the specimen ends without slippage |
| Specimen cutter or guillotine | Cuts uniform test pieces |
| Calipers or ruler | Measures sample dimensions |
| Data recording sheet or software | Logs force, elongation, and break points |
| Calibration certificate | Confirms the machine is accurate |
The machine should be capable of the expected break force of your material. A lightweight nonwoven may break at low force, while a heavy industrial felt may require higher capacity. Using a machine that is too weak will cut the test short before failure. Using one that is too strong is less problematic but may reduce resolution in the low-force range.
The calibration certificate should be current. If the machine has not been verified recently, the force readings may drift. A small error in force measurement becomes a large error in calculated strength, especially for low-strength materials.
How to Prepare the Test Specimen
Specimen preparation is where most errors enter the data. The sample must be uniform in size and free of handling damage.
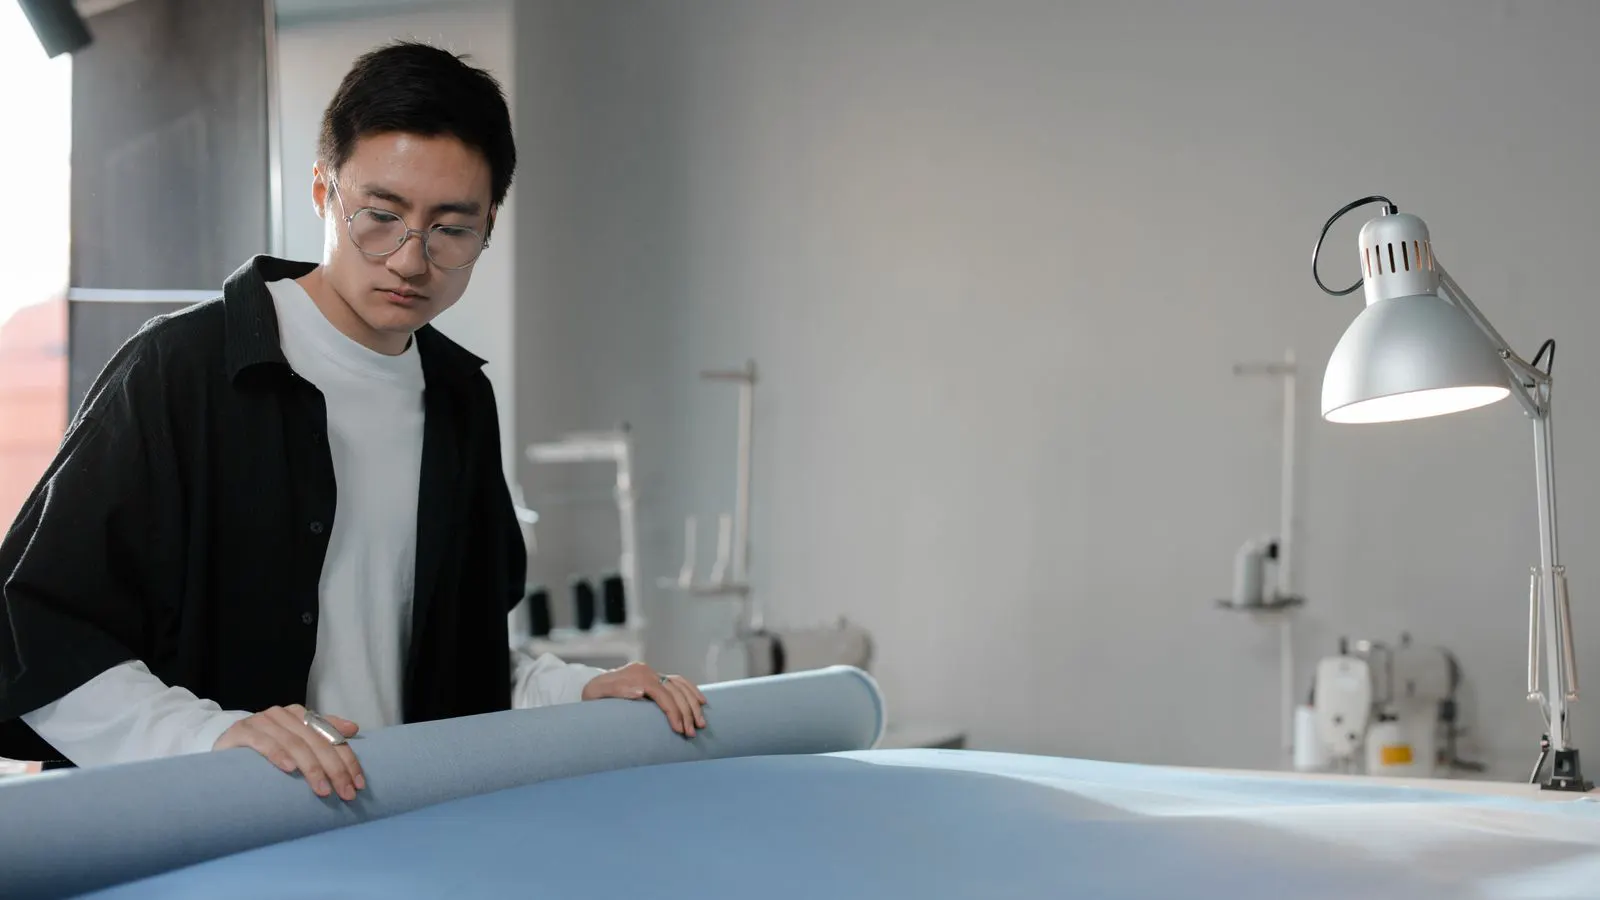
- Cut the specimen from the fabric roll. Cut from a location away from the roll edges and away from any visible defects. The edges of a roll can be under different tension than the center, leading to inconsistent results.
- Size the sample to standard dimensions. Use a fixed width, typically around 25 mm, and a sufficient length to allow for gripping without the grip area being the break point. The exact dimensions should match the testing protocol you are following.
- Check the width with calipers. Measure the width of the cut edge, not the roll edge. The cut edge may have slight fraying or irregularity. Record the actual width, not the nominal width.
- Handle the sample by its ends. Avoid pinching or stretching the fabric during handling. Nonwovens are often made of bonded or needle-punched fibers that can be damaged by hand pressure.
- Label the sample. Mark the sample with the roll number, batch, and date. If you are testing multiple points on the same roll, label each point separately.
The reason for each step is to control variables. If the sample width varies, the calculated strength varies even if the material is identical. If the sample is handled roughly, the fibers may already be partially broken before the test begins.
How to Set Up the Tensile Testing Machine
Proper setup ensures that the force is applied cleanly and the data is captured correctly.
- Mount the cross-heads or grips. Attach the grips to the machine frame. For nonwovens, use low-friction or padded grips to prevent the fabric from slipping or tearing at the grip point.
- Set the speed. Choose an elongation rate that is slow enough to capture the break point clearly but not so slow that time is wasted. A rate of 50 mm per minute is a common starting point for general nonwoven testing.
- Zero the machine. Place the grips together without the specimen. Zero the force reading. Any residual force from the previous test will be added to the new reading.
- Run a blank test. Run one cycle without a specimen to confirm the machine returns to zero and that the data logger is active.
- Check the data recording settings. Ensure the machine is logging force and elongation at the correct interval. A high sampling rate captures the peak force more accurately, especially for brittle or low-elongation materials.
The reason for zeroing and blank testing is to remove baseline drift. The machine may have a small offset after use. The blank test also confirms that the data logger is synchronized with the machine’s motion.
How to Perform the Tensile Test
The test itself is a controlled pull to failure. Follow these steps for each specimen.
- Place the specimen in the grips. Align the specimen flat. Do not twist it. The fibers should be parallel to the pulling direction.
- Secure the grips gently. Tighten the grips enough to hold the fabric without crushing it. Over-tightening can create a stress concentration that causes the fabric to break at the grip rather than in the middle.
- Start the test. Let the machine pull the specimen at the set speed. Watch the force curve on the display.
- Record the peak force. The machine should automatically log the maximum force before break. If it does not, note the peak manually from the graph.
- Record the elongation at break. This is the total stretch at the moment of failure. For nonwovens, this can range from a few percent to several hundred percent depending on the structure and fiber type.
- Inspect the break. Look at the failure mode. Is it a clean tear across the width? Did it start at a defect? Did it break at the grip? A clean break across the width is ideal. A break at the grip indicates a setup problem.
- Repeat for multiple specimens. Test at least three specimens from the same roll and at least two different points on the roll. This gives you a mean and a range, which is more useful than a single number.
The reason for multiple specimens is that no fabric is perfectly uniform. Needle-punched nonwovens can have areas with higher fiber density. Bonded nonwovens can have variations in adhesive or heat bonding. A single test result is a data point, but three or more give you a picture of the material’s consistency.
How to Calculate Tensile Strength
Tensile strength is not the same as break force. Break force is the total force in newtons. Tensile strength is the force normalized by the specimen width, usually expressed in newtons per millimeter (N/mm) or newtons per centimeter (N/cm).
The calculation is simple:
Tensile Strength = Break Force / Specimen Width
If the break force is 150 N and the specimen width is 25 mm, the tensile strength is 6 N/mm.
Record both the peak force and the calculated strength. The peak force tells you about the total load capacity of the specimen. The calculated strength tells you about the material property. The two are related, but they are not interchangeable. If you change the specimen width, the peak force changes, but the tensile strength should remain roughly constant for the same material.
Common Mistakes in Nonwoven Testing
Even with the right equipment, results can be misleading if these errors occur.
- Using inconsistent specimen width. A 2 mm difference in width creates an 8% error in strength. Always measure, do not assume.
- Grip slippage. If the fabric slides in the grips, the force curve will show a sudden drop or a peak that is not representative. Use proper grip pressure and consider textured or padded grips.
- Testing at the wrong orientation. Nonwovens are often anisotropic. The strength in the machine direction may differ from the cross direction. Test both and label the orientation.
- Ignoring defects. A hole or a weak spot in the specimen will cause early failure. Reject any specimen with visible damage and cut a new one.
- Failing to record the break mode. A break at the grip is a test artifact, not a material property. It should be excluded from the data set and the setup should be reviewed.
These mistakes do not require a new machine to fix. They require attention to procedure and a habit of inspecting the data for anomalies.
How to Verify Your Results
A single test session is not enough to confirm that your process is sound. Verification is the step that turns raw data into reliable information.
- Check for outliers. If one specimen breaks at half the force of the others, investigate before including it in the average. It may be a defect in the fabric or a problem in the test.
- Compare with a known reference. If you have a previous batch of the same material, compare the new results. A significant shift may indicate a change in the material or a change in the testing method.
- Review the force-elongation curve. Look for the shape of the curve. A linear rise to a sharp break suggests a stiff, low-elongation material. A gradual rise with a plateau suggests a fibrous, high-elongation material. The curve shape should be consistent across specimens.
- Confirm the calibration. After a batch of tests, run a blank cycle and verify that the machine returns to zero. If it does not, recalibrate before using the data.
Verification is not a formality. It is the step that separates a useful measurement from a number that looks like data but cannot be trusted.
When to Escalate Testing
If the results are inconsistent or the material is critical to the final product, consider additional testing.
- Repeat on a different machine. This rules out machine-specific issues.
- Test at different humidity levels. Some nonwovens, especially those with synthetic fibers, can be affected by moisture.
- Test after conditioning. Condition the fabric in a controlled environment for 24 to 48 hours before testing. This stabilizes the fiber structure.
- Consult a testing lab. If the application is safety-critical, a third-party lab with accredited equipment can provide an independent verification.
Escalation is not a sign of failure. It is a sign that you are taking the data seriously enough to use it with confidence.
Final Thoughts on Reliable Tensile Data
Accurate tensile strength testing is a matter of method, not magic. The machine is only as good as the specimen you put in it and the data you record. Cut samples carefully. Control the width. Use the right grips. Record the break force and elongation. Check the failure mode. Verify the equipment.
When you do this consistently, the tensile strength data becomes a reliable tool for selection, quality control, and design. It tells you what the material can do. It also tells you where it will not. That is the value of a good test.
Frequently asked questions
What is the difference between break force and tensile strength?
Break force is the total force in newtons required to tear the specimen. Tensile strength is that force divided by the specimen width, giving a normalized value in N/mm or N/cm.
How many specimens should I test for a reliable result?
At least three specimens from the same location and two from different locations on the roll. This gives you a mean and a range, which is more useful than a single data point.
Can I use a hand-held tensile tester for nonwovens?
Hand-held testers can give a rough estimate for low-strength materials, but they lack the precision and data logging of a frame or cross-head machine. For quality control and material selection, use a frame machine.
Does the testing speed affect the results?
Yes. Faster speeds can increase the apparent strength of some materials because the fibers do not have time to relax and deform. Use a consistent speed for all tests and record it in your data.
What should I do if the fabric breaks at the grip?
This is a test artifact, not a material property. Check your grip pressure, consider using padded or textured grips, and re-test the specimen. If the problem persists, the material may be too weak for the grip type you are using.