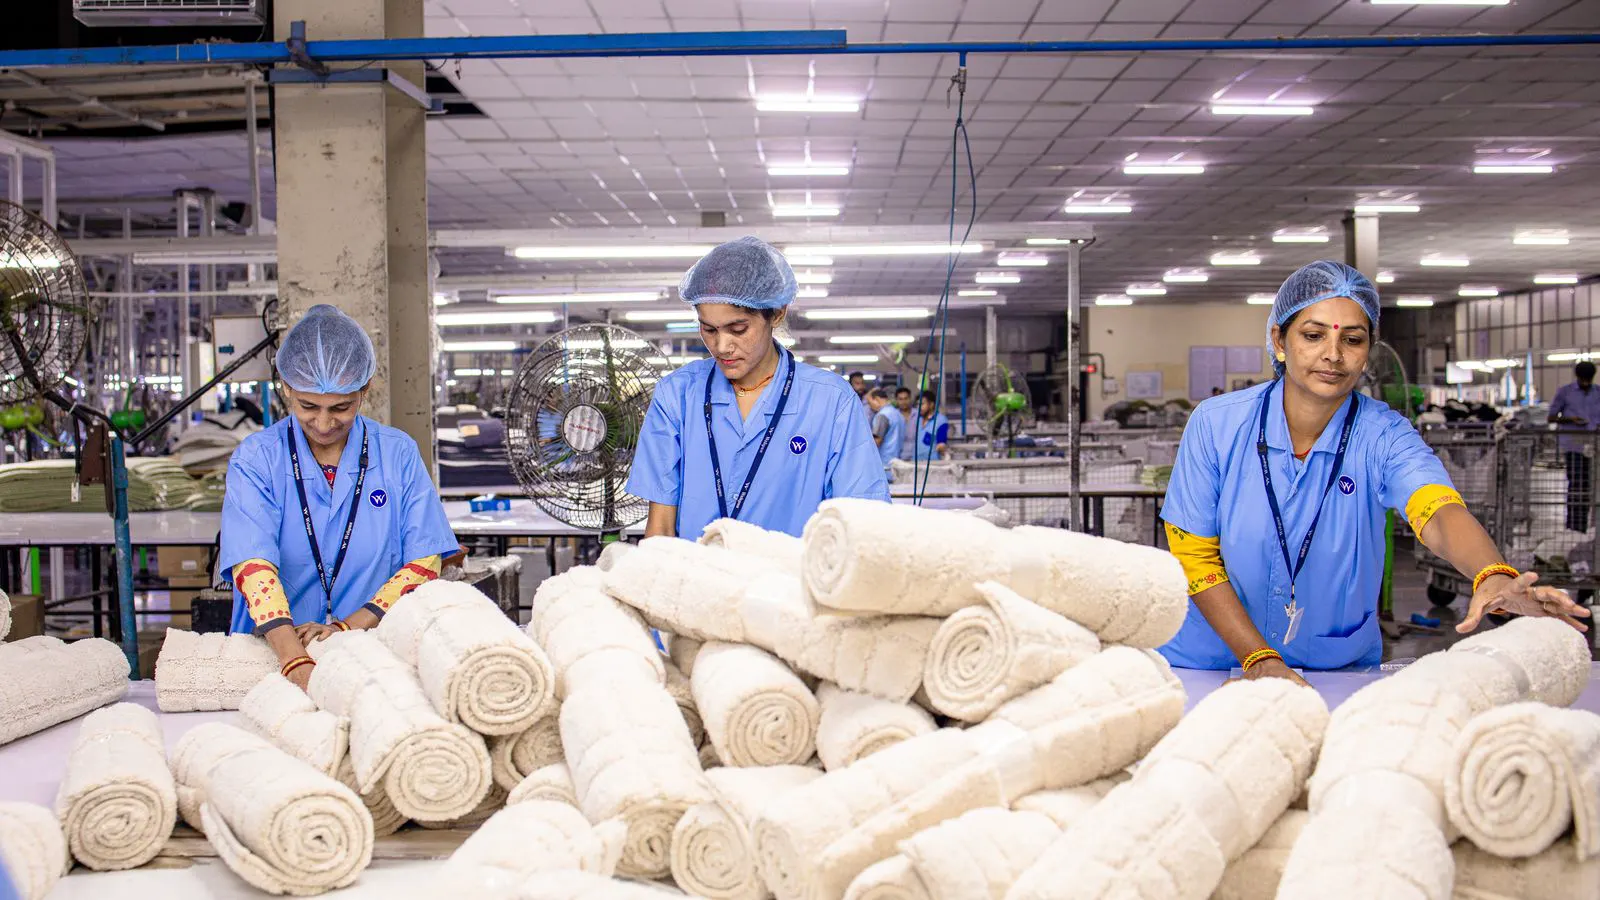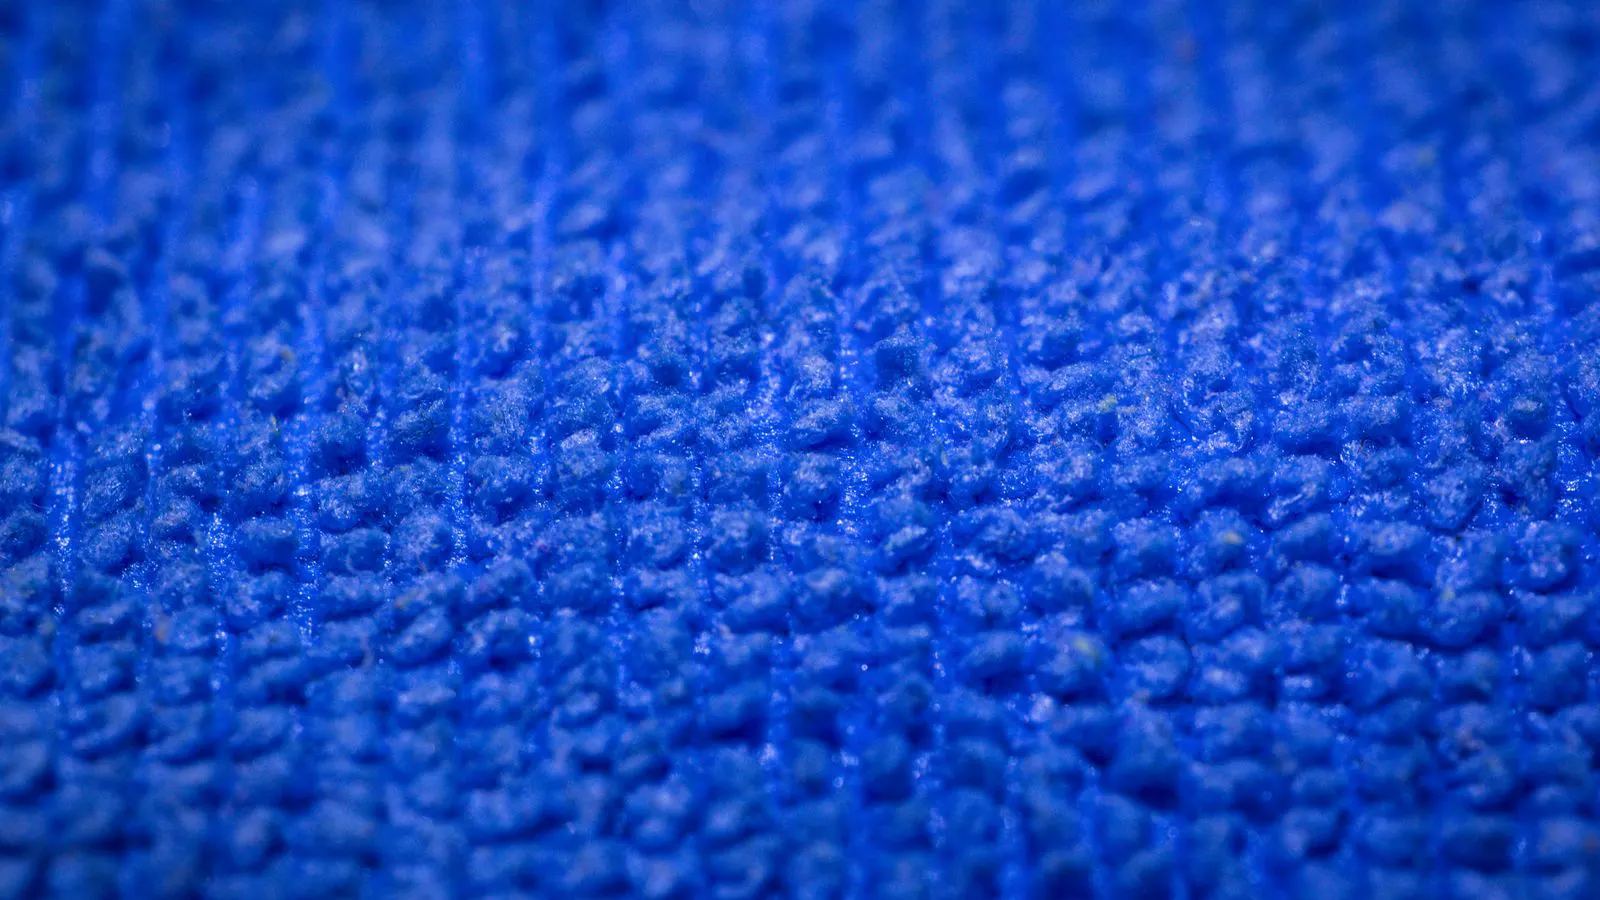
Edge pilling in sanitary napkin fabric usually comes from loose fibers, high line speeds, or weak bonding at the cut. Identify symptoms on the web, check line speed and needle bar, and adjust fiber feed or bonding to stop hygiene fabric defects before they reach the final product.
- Edge pilling in sanitary napkin fabric is a surface defect caused by loose fibers or weak bonding at the cut.
- Check line speed, fiber feed, and needle bar condition to find the root cause.
- Adjust bonding, fiber feed, or cutting parameters to stop pilling before it affects final quality.
- Prevent recurrence with regular line checks and documented adjustments.
Why edge pilling appears in sanitary napkin fabric
Edge pilling is a surface defect that shows up at the cut edge of nonwoven fabric. It looks like small, fuzzy loops or loose fibers at the edge. This defect matters because it can snag on skin or packaging and reduce the perceived quality of the final product.
Sanitary napkin fabric is often made from a blend of polyester, cotton, or viscose fibers. The edge pilling happens when fibers are not fully bonded or when they are pulled loose during processing. It is not a cosmetic issue only. It can affect product acceptance if buyers notice the defect during inspection.
The defect is most visible on light colored fabrics. White or off white sanitary napkin fabric makes pilling easier to spot. Darker fabrics can hide the defect, but it still affects feel and performance.
What symptoms to look for
Before changing machine settings, identify what you are seeing. The symptom tells you where to look.
| Symptom | Likely cause | What to do |
|---|---|---|
| Small fuzzy loops at the cut edge | Loose fibers not fully bonded | Check fiber feed and bonding pressure |
| Pilling only on one edge | Uneven cutting or web tension | Adjust cutter alignment and web tension |
| Pilling after storage | Fiber migration during handling | Improve packaging and reduce handling |
| Pilling after washing | Weak fiber bonding | Increase bonding or change fiber blend |
| Pilling at the center of the edge | High line speed pulling fibers | Reduce line speed and check web tension |
| Pilling on both edges | Inadequate fiber feed or poor fiber distribution | Adjust fiber feed and check fiber distribution |
The symptom pattern helps narrow the cause. Pilling on one edge usually points to a mechanical issue. Pilling on both edges often points to a process issue. Pilling after washing points to a bonding issue.
How to check the fiber feed
Fiber feed is the first thing to check. If fibers are not fed evenly, the edge can have loose strands. Loose strands at the edge are a common cause of pilling.
Check the fiber feed rollers. Look for wear, slippage, or uneven pressure. A worn roller can let fibers slip out of the web. This creates loose strands at the edge.
Check the fiber distribution. If the fiber is not spread evenly across the web width, the edge can have fewer or more fibers than the center. This unevenness can cause pilling.
Check the fiber length. Shorter fibers can be easier to pull loose. Longer fibers can create bigger loops. The fiber length should match the product requirement. If the fiber is too long, the edge can pill more easily.
How to check line speed and web tension
Line speed affects how the fabric moves through the machine. If the line speed is too high, fibers can be pulled loose at the edge. This is especially true for nonwovens with weaker bonding.
Check the line speed against the machine specification. Do not run above the rated speed. If the line speed is too high, reduce it and check the pilling again.
Check the web tension. If the web tension is too low, the fabric can move unevenly. This can pull fibers loose at the edge. If the tension is too high, the fabric can stretch and create stress points. Both can cause pilling.
Check the web path. Look for any sharp bends or rough surfaces in the web path. A rough surface can snag fibers. A sharp bend can pull fibers out of the web.
How to check bonding and cutting
Bonding holds the fibers together. If the bonding is weak, fibers can pull loose at the edge. Check the bonding method. Hot melt bonding, needle punching, or chemical bonding all have different strengths.
Check the bonding temperature or pressure. If the bonding is too low, the fibers are not held together. If the bonding is too high, the fiber can melt or deform. Both can affect edge quality.
Check the cutting process. A dull blade can tear fibers instead of cutting them clean. A torn edge has loose fibers that can pill. A clean cut has fewer loose fibers.
Check the cutter blade. Replace the blade if it is dull or damaged. A sharp blade cuts clean and reduces edge pilling.
Check the cutter speed. If the cutter is too slow, the fabric can move while the blade is cutting. This can create a torn edge. Match the cutter speed to the line speed.
How to prevent edge pilling
Prevention is easier than correction. Once pilling starts, it takes time to find the cause. Preventing it saves time and reduces waste.
- Run the line at the recommended speed. Do not push the machine above its rated speed.
- Check the fiber feed rollers weekly. Replace worn rollers before they cause loose fibers.
- Inspect the cutter blade at the start of each shift. Replace it if the edge is torn.
- Record the line speed, fiber feed, and bonding settings. Use the same settings for each product run.
- Inspect the edge after every 1000 meters. Catch pilling early and adjust before it becomes a lot.
A simple inspection routine can stop pilling before it becomes a customer complaint. Keep a log of the settings and the edge quality. If pilling appears, check the log to see what changed.
How to document the fix
When you find the cause, write it down. A note in the maintenance log helps the next operator. It also helps you compare runs.
Record the symptom, the cause, and the fix. For example, “Pilling at the left edge. Cause: web tension too low. Fix: increased tension by 5 percent.” This kind of note is useful. It tells the next operator exactly what to check.
Keep the notes in one place. A shared log or a digital system works best. The goal is to make the fix visible to everyone on the line.
How to test the fix
After you change a setting, test the fabric. Do not assume the fix works. Cut a sample and check the edge.
Check the edge under good light. Look for loose fibers or fuzzy loops. Run your finger along the edge to feel for snags.
Run the line for a short time. Check the edge again after 1000 meters. If the pilling is gone, the fix is working. If it comes back, the cause is not fixed.
Keep the test sample. Store it with the lot number. If a customer complains later, you can compare the sample to the current fabric.
How to handle customer complaints
If a customer reports edge pilling, ask for details. Where on the fabric is the defect? How many pieces are affected? Did it appear after washing or in storage?
Ask for a photo. A photo helps you see the defect. A photo also helps you compare it to the test sample.
Check the lot number. Look up the settings for that lot. Compare them to the current settings. If something changed, that is the likely cause.
If the defect is small, send a corrected sample. If the defect is large, hold the lot and investigate. Do not ship a lot with a known defect.
How to choose the right fiber blend
The fiber blend affects edge pilling. Some blends are more prone to pilling than others.
Polyester is strong and holds its shape. It can pill if the bonding is weak. Cotton is soft but can shed fibers. Viscose is soft and can shed fibers easily. A blend of these can balance softness and strength.
If the product is for high use, consider a stronger blend. A stronger blend holds fibers together better. If the product is for low use, a softer blend can work.
Test the blend before committing to a large run. Cut samples and check the edge. Wash the samples and check the edge again. This gives you a clear picture of how the blend will perform.
How to adjust the machine safely
Changing machine settings can stop pilling. It can also cause other issues if done wrong.
Make one change at a time. If you change the line speed and the fiber feed at the same time, you will not know which one fixed the problem. Change one setting, test, and then change the next.
Follow the machine manual. The manual tells you the safe range for each setting. Do not go outside that range.
If you are not sure about a setting, ask the machine manufacturer. They know the machine and can give you a safe adjustment.
How to train the line team
The line team sees the fabric every day. They can spot pilling before it becomes a problem.
Train them on what pilling looks like. Show them a sample with pilling and a sample without. They should be able to tell the difference.
Train them on how to check the edge. Show them where to look. Show them how to run their finger along the edge.
Give them a simple checklist. A checklist makes the check consistent. It also makes it easier to log the result.
A trained team can catch pilling early. Early catch means a smaller fix. A smaller fix means less waste and less downtime.
How to review the process regularly
Edge pilling is not a one time fix. The machine wears. The fiber changes. The process can drift.
Review the process every quarter. Check the fiber feed rollers. Check the cutter blade. Check the bonding settings.
Compare the current settings to the original settings. If they have drifted, bring them back.
Review the complaint log. If pilling complaints keep coming back, there is a deeper issue. Look for it.
A regular review keeps the process tight. It also keeps the team aware of the defect. Awareness is the first step to prevention.
How to measure the result
You need to know if the fix worked. A simple measurement is enough.
Measure the number of pilled edges per 1000 meters. Count the edges with visible pilling. Record the number.
Compare the number before and after the fix. If the number drops, the fix is working. If it stays the same, the cause is not fixed.
Keep the measurement over time. A trend helps you see if the process is stable. A stable process means fewer complaints.
Use the measurement to make decisions. If the number is rising, check the machine. If it is falling, keep the settings.
Frequently asked questions
Can edge pilling be fixed after the fabric is cut?
No, pilling is a surface defect. You cannot remove it after the cut. You need to stop it at the source by fixing the process.
Does pilling only happen on white fabric?
No, pilling can happen on any color. It is easier to see on white fabric, but it affects all colors.
How often should I check the cutter blade?
Check it at the start of each shift. Replace it if the edge is torn. A dull blade causes pilling.
Can I run the line faster to reduce pilling?
No, higher line speed can increase pilling. Run at the recommended speed to keep the edge clean.
Do I need a new machine to fix pilling?
No, pilling is usually a process issue. Adjust the fiber feed, line speed, or bonding to fix it.